Nowadays it’s very frequently in a web hosting service create and use mysql databases. For instance, my website runs over a 1and1 server, I bought a plan that allow me to create and use until 10 mysql databases, nothing new.
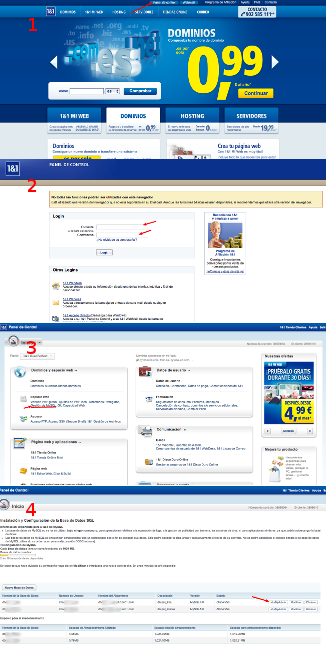
But every time I need to check something on the database, I’m forced to go to the 1and1 panel control and open a phpMyAdmin session to do my stuff.

This procedure takes me more or less 1 minute; if I do this procedure fives times per day during a complete working week, I can spend up to 30min of my time each week creating phpmyadmin connections to manage my database, that means 2 hours per month, 2 hours that could be invested in something more productive like playing with my cat.

To expedite this process and saves this precious time, you can configure your computer to connect and administrate easily your 1and1 mysql remote database.
For this, we need to use a technique called SSH Tunneling combined with your local phpMyadmin and a little bit of sysadmin poisons.
NOTES
- This setup is based on Ubuntu 11.10
- For this demo username is le-user and server name le-server.com. Remember replace this data with your real data.
Step 1 - Setup your ssh connection
You need to setup a SSH public/private key with your web hosting server for fast authentication proposes, with this setup configured your SSH local client won’t ask you about your hosting password every time you want to login to your hosting server.
You can read this article And yes, another guide to setup your server with Publick-Key authentication or also let Saint Google offer you solutions.
If everything went ok, you can connect through SSH using only your 1and1 server domain.
1 | luis@myblog:~$ ssh le-server.com |
Step 2 - Install Socat
Usually hosting providers like 1and1 prevent SSH tunneling or SSH port forwarding. To bypass this issue, you need to install a package called socat (in your computer and also in your 1and1 web hosting server). Socat is a relay for bidirectional data transfer between two independent data channels.
In your computer
In a terminal, simply type:
1 | luis@myblog:~$ sudo apt-get install socat |
In your 1and1 web hosting server
1and1 uses 32 bit Debian Distribution. We will use last socat binary package for debian distribution. Usually in my 1and1 server setup, I have a folder named bin only for install custom packages and it is outside from the root web folder, proceeding on this way we can prevent unauthorized access to these packages from the web.
1 | luis@myblog:~$ ssh le-server.com |
If everything went ok, you should see socat information when you execute socat -V in your remote server.
1 | (uiserver):u11111111:~ > socat -V |
Step 3 - phpMyadmin Setup.
You must have installed phpMyAdmin in your local environment. To install it, open a terminal and just type:
1 | luis@myblog:~$ sudo apt-get install mysql-server phpmyadmin |
This instruction will install all packages needed for operate phpmyadmin.
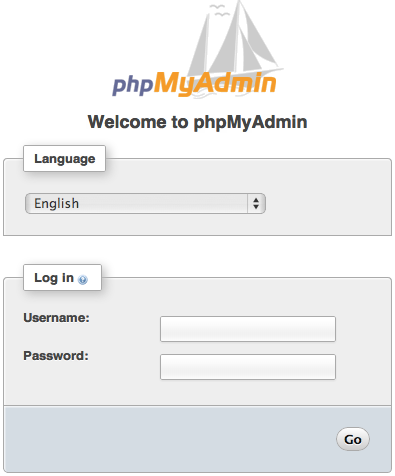
When the installation is finished, you should be able to see the following screen when you type http://localhost/phpmyadmin in a internet browser.

Now, go to your 1and1 Panel Control and write it down your remote mysql host connection. You will need this data:
| Host | db1111111.db.1and1.com |
| User | dbo1111111 |
| Password | ULTRAHARDPASSWORD |
With this data, you must add a peace of code in your phpMyadmin config file. In Ubuntu this configuration file is located here /etc/phpmyadmin/config.inc.php
After this lines:
1 | /* Advance to next server for rest of config */ |
Add the next lines.
1 | /* 1and1 Remote Server Connection */ |
If everything went well, you should see a new server connection available in your phpmyadmin landing page

Step 4 - Glue everything
In your computer, open a terminal and type: (remember replace le-server.com and db1111111.db.1and1.com with your real domain name and database host name).
1 | luis@myblog:~$ socat -v UNIX-LISTEN:/tmp/mysql-1and1.socket,mode=777,fork EXEC:'ssh le-server.com "~/bin/usr/bin/socat STDIO TCP:db1111111.db.1and1.com:3306"' |
You will see anything until you connect with phpMyAdmin. This terminal will be busy with this process.
Now, in a browser go to your local phpMyAdmin, select the server localhost:db1111111 and click on “Go”

Voila!
When you finish your work just hit CTRL+C into the open terminal to kill socat process.
Happy Coding :D